Indoor Plants: Fiddle Fig & Snake Plant

image1

So it has been a while!  Life has been hectic!  I’m going to try to stop by here more now that I’m a little more free and back to decorating the house.
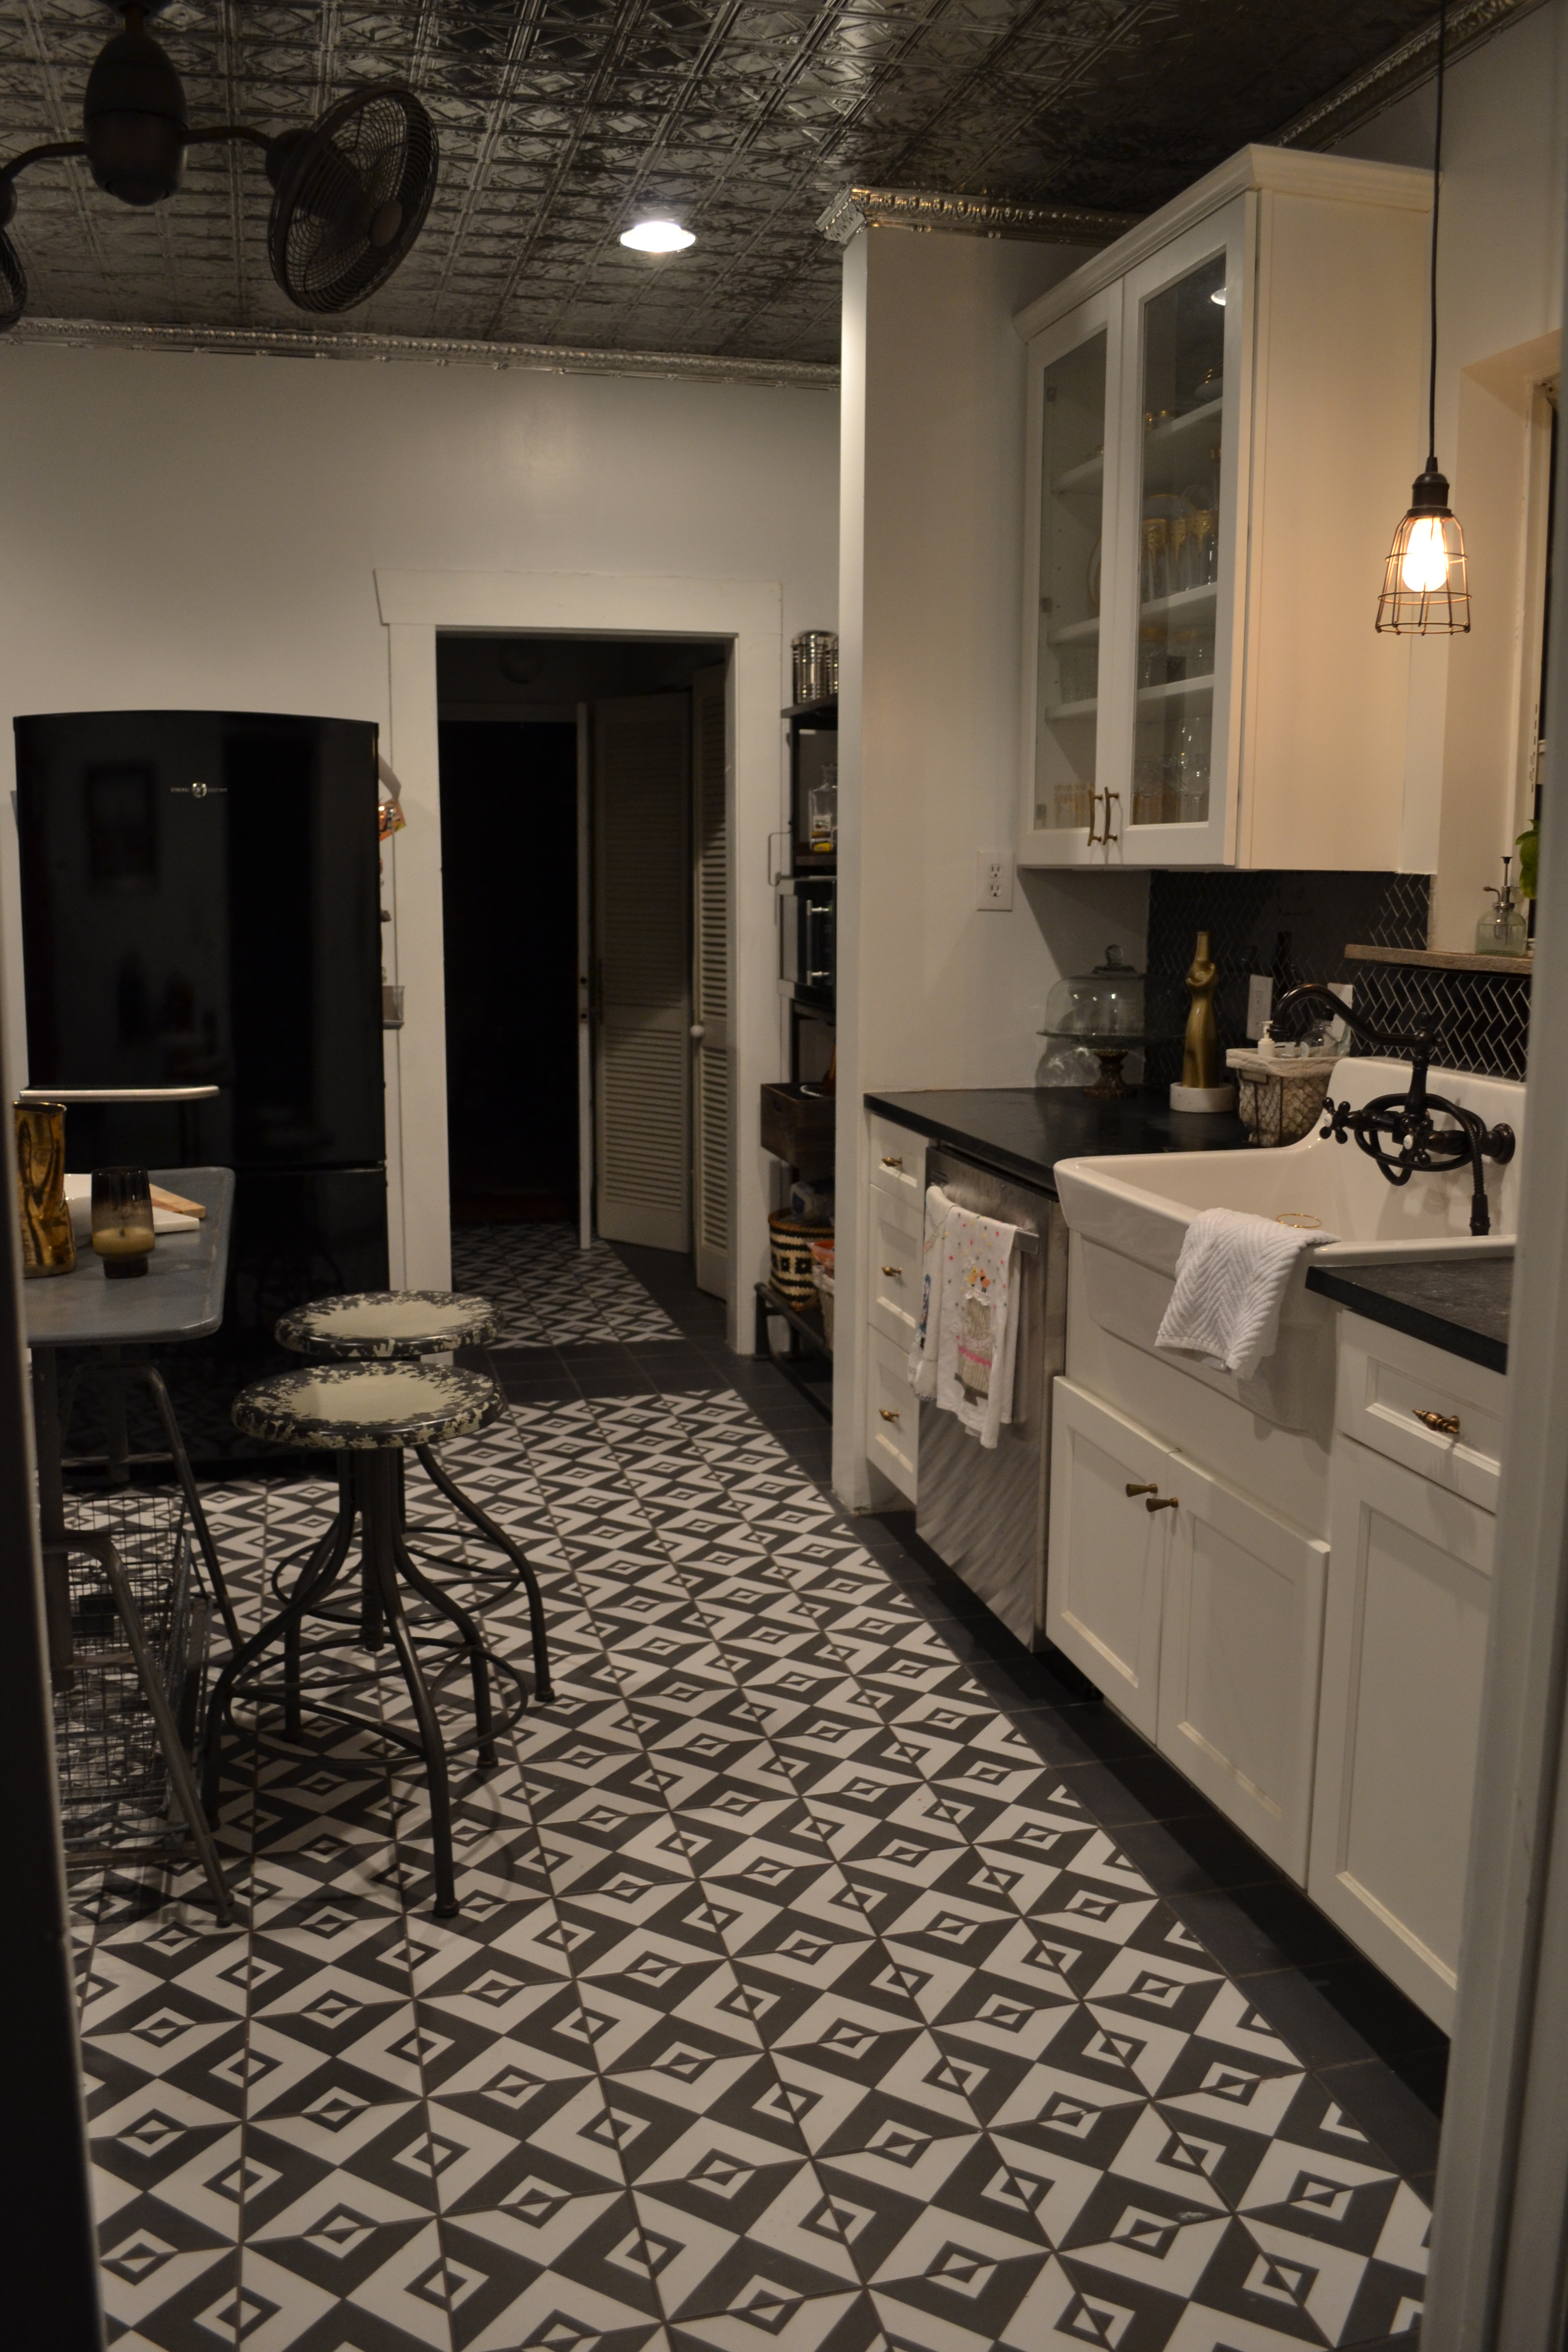
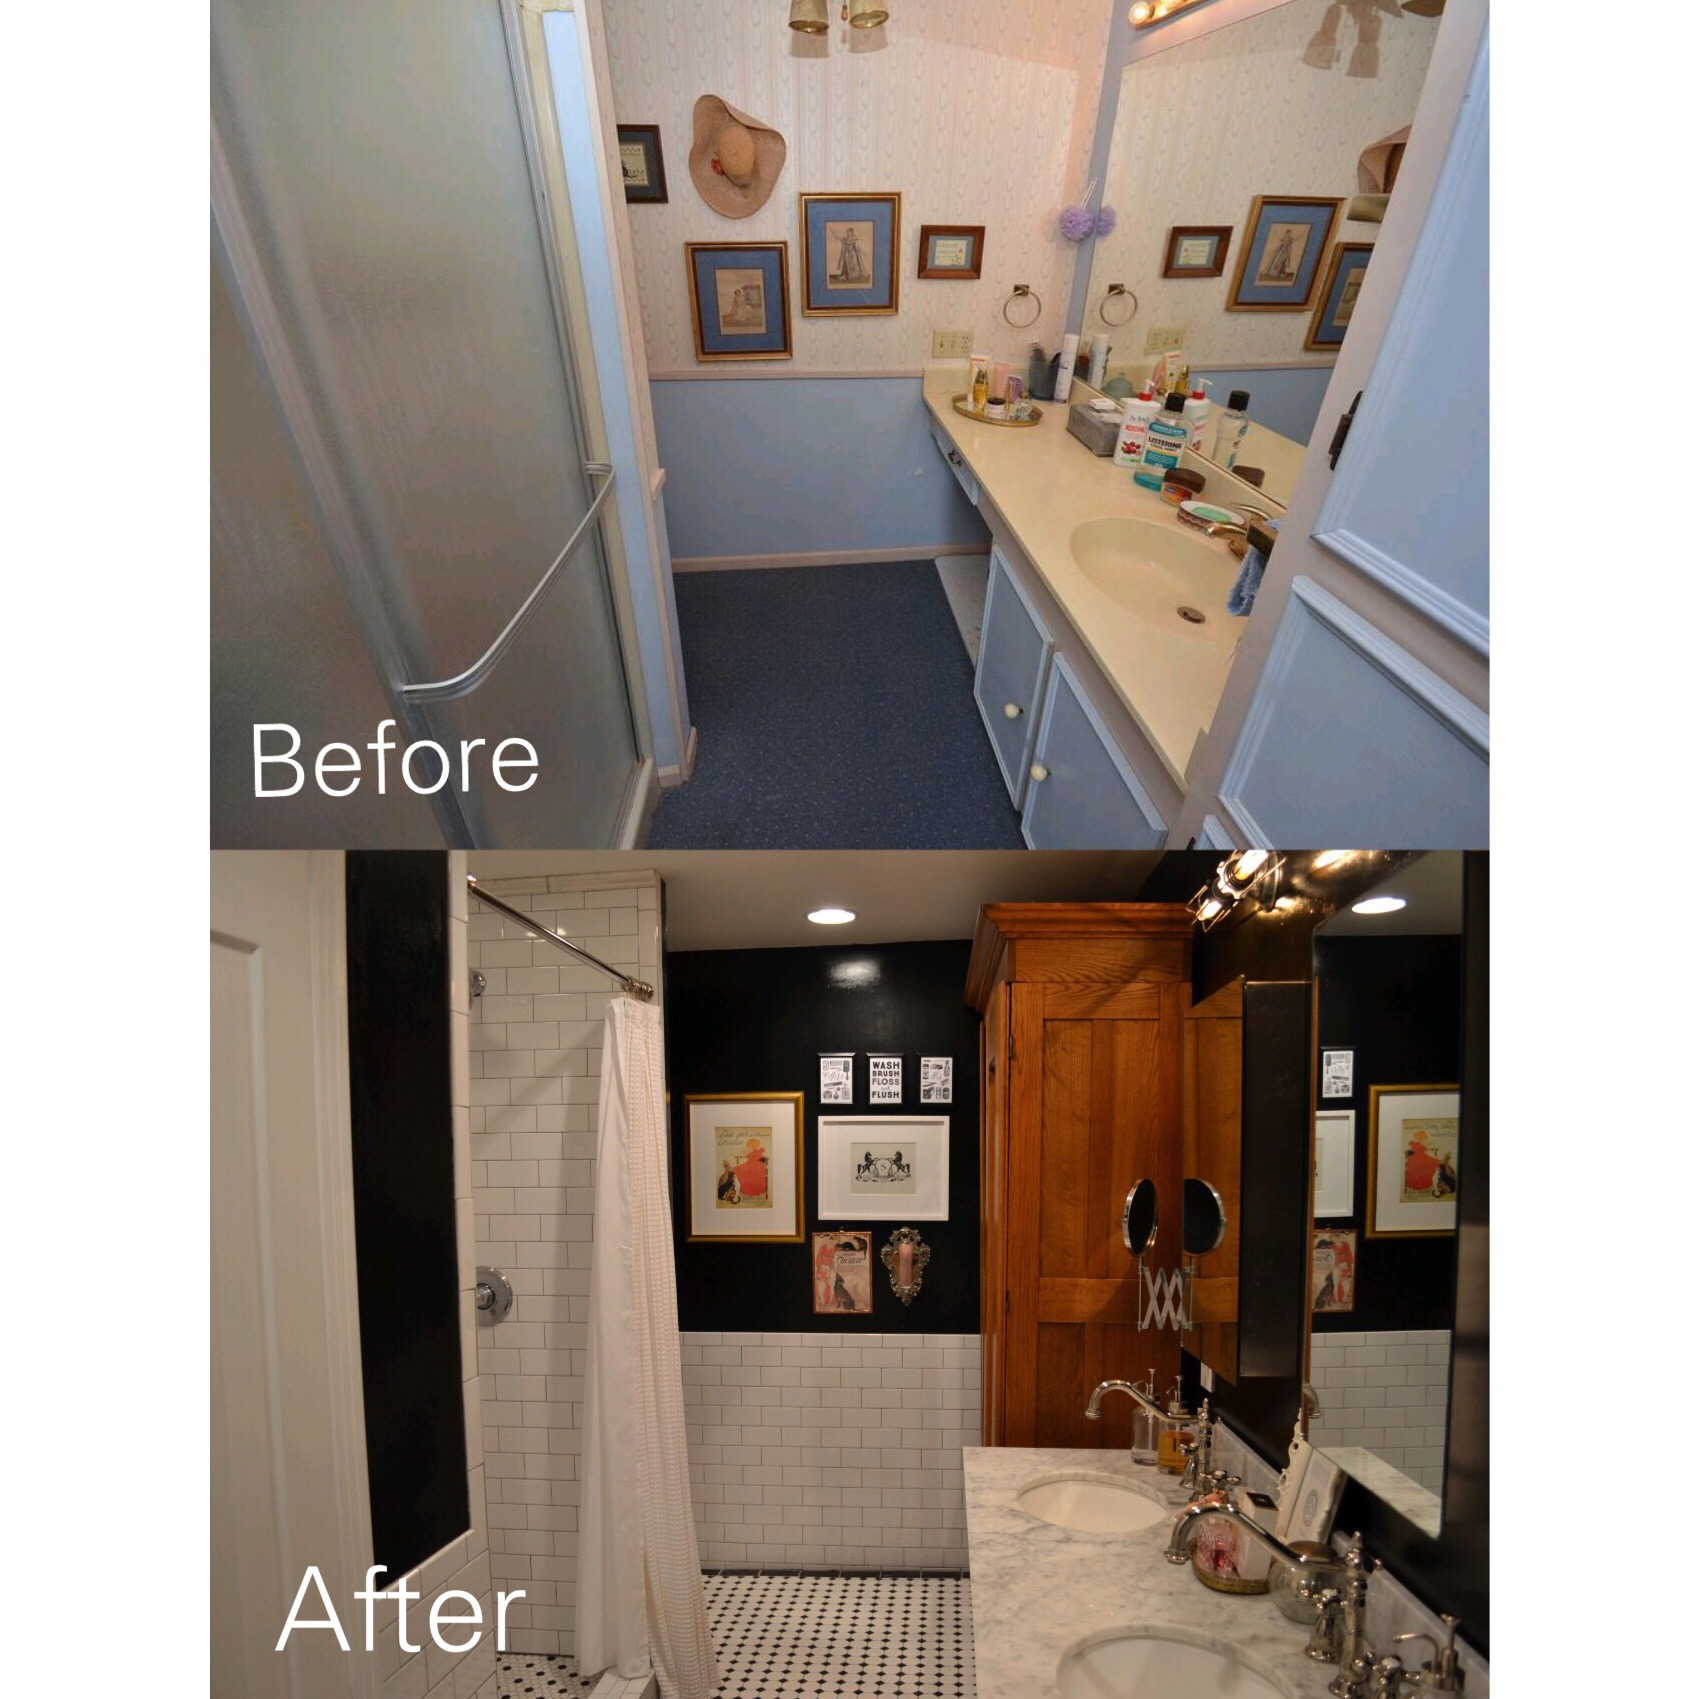
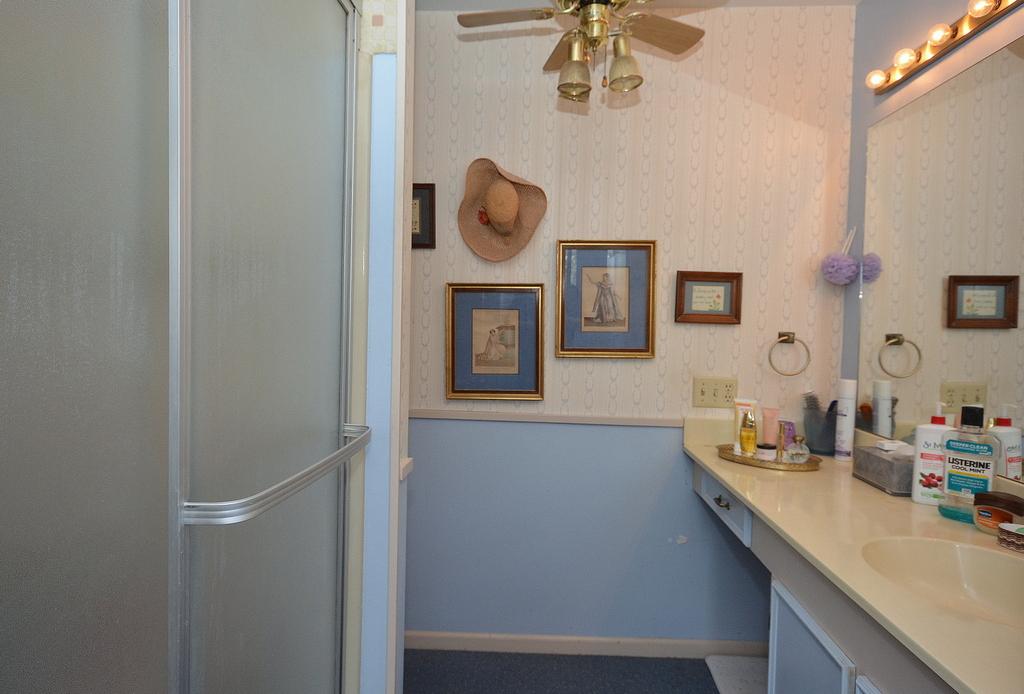
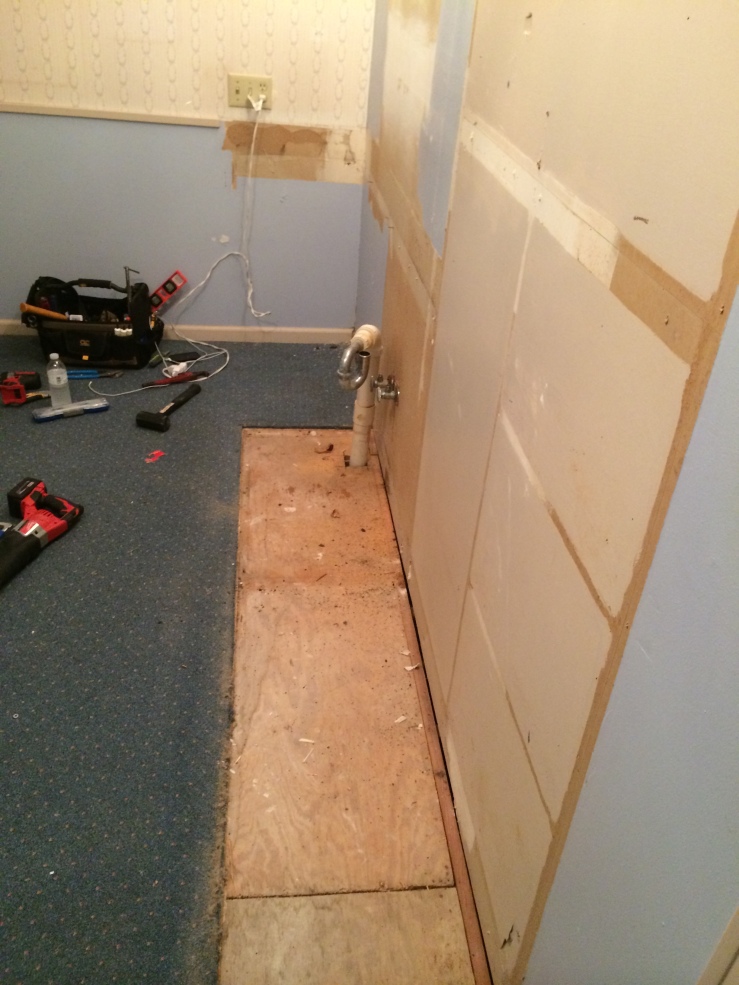
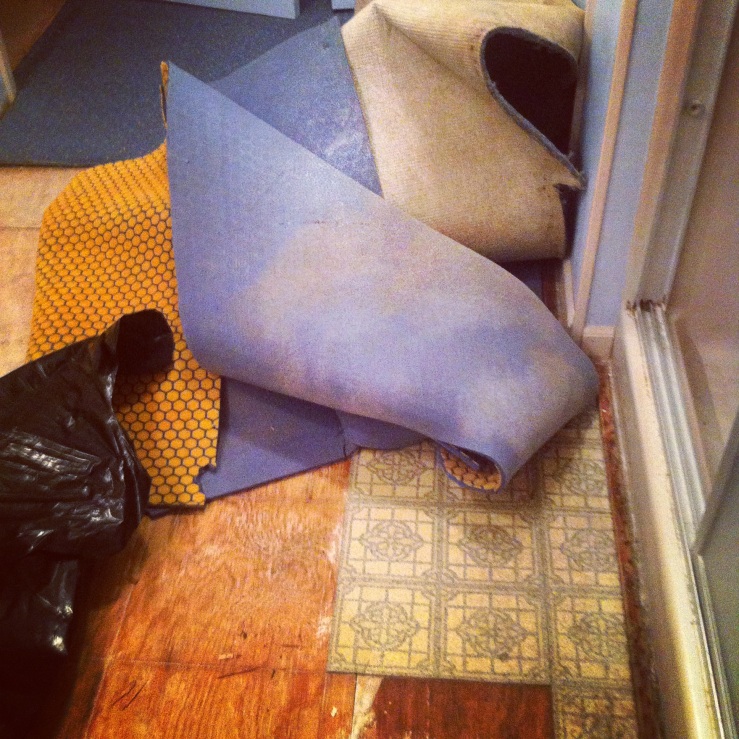
A lot of the home renovations are done and we have been enjoying our house!  There’s always another project lined up or room for improvement so I hope to start documenting what’s been going on.
I mentioned last week on my instagram I’m also going to do #tuesdaymuseday featuring home decor inspirations as well as #wanderwednesday featuring travel photographs.  As much as I like decorating and making things I also like to travel and explore!  It’s a tough balance and life is too short!  So if you’re not yet following me my insta username is @shopellion.
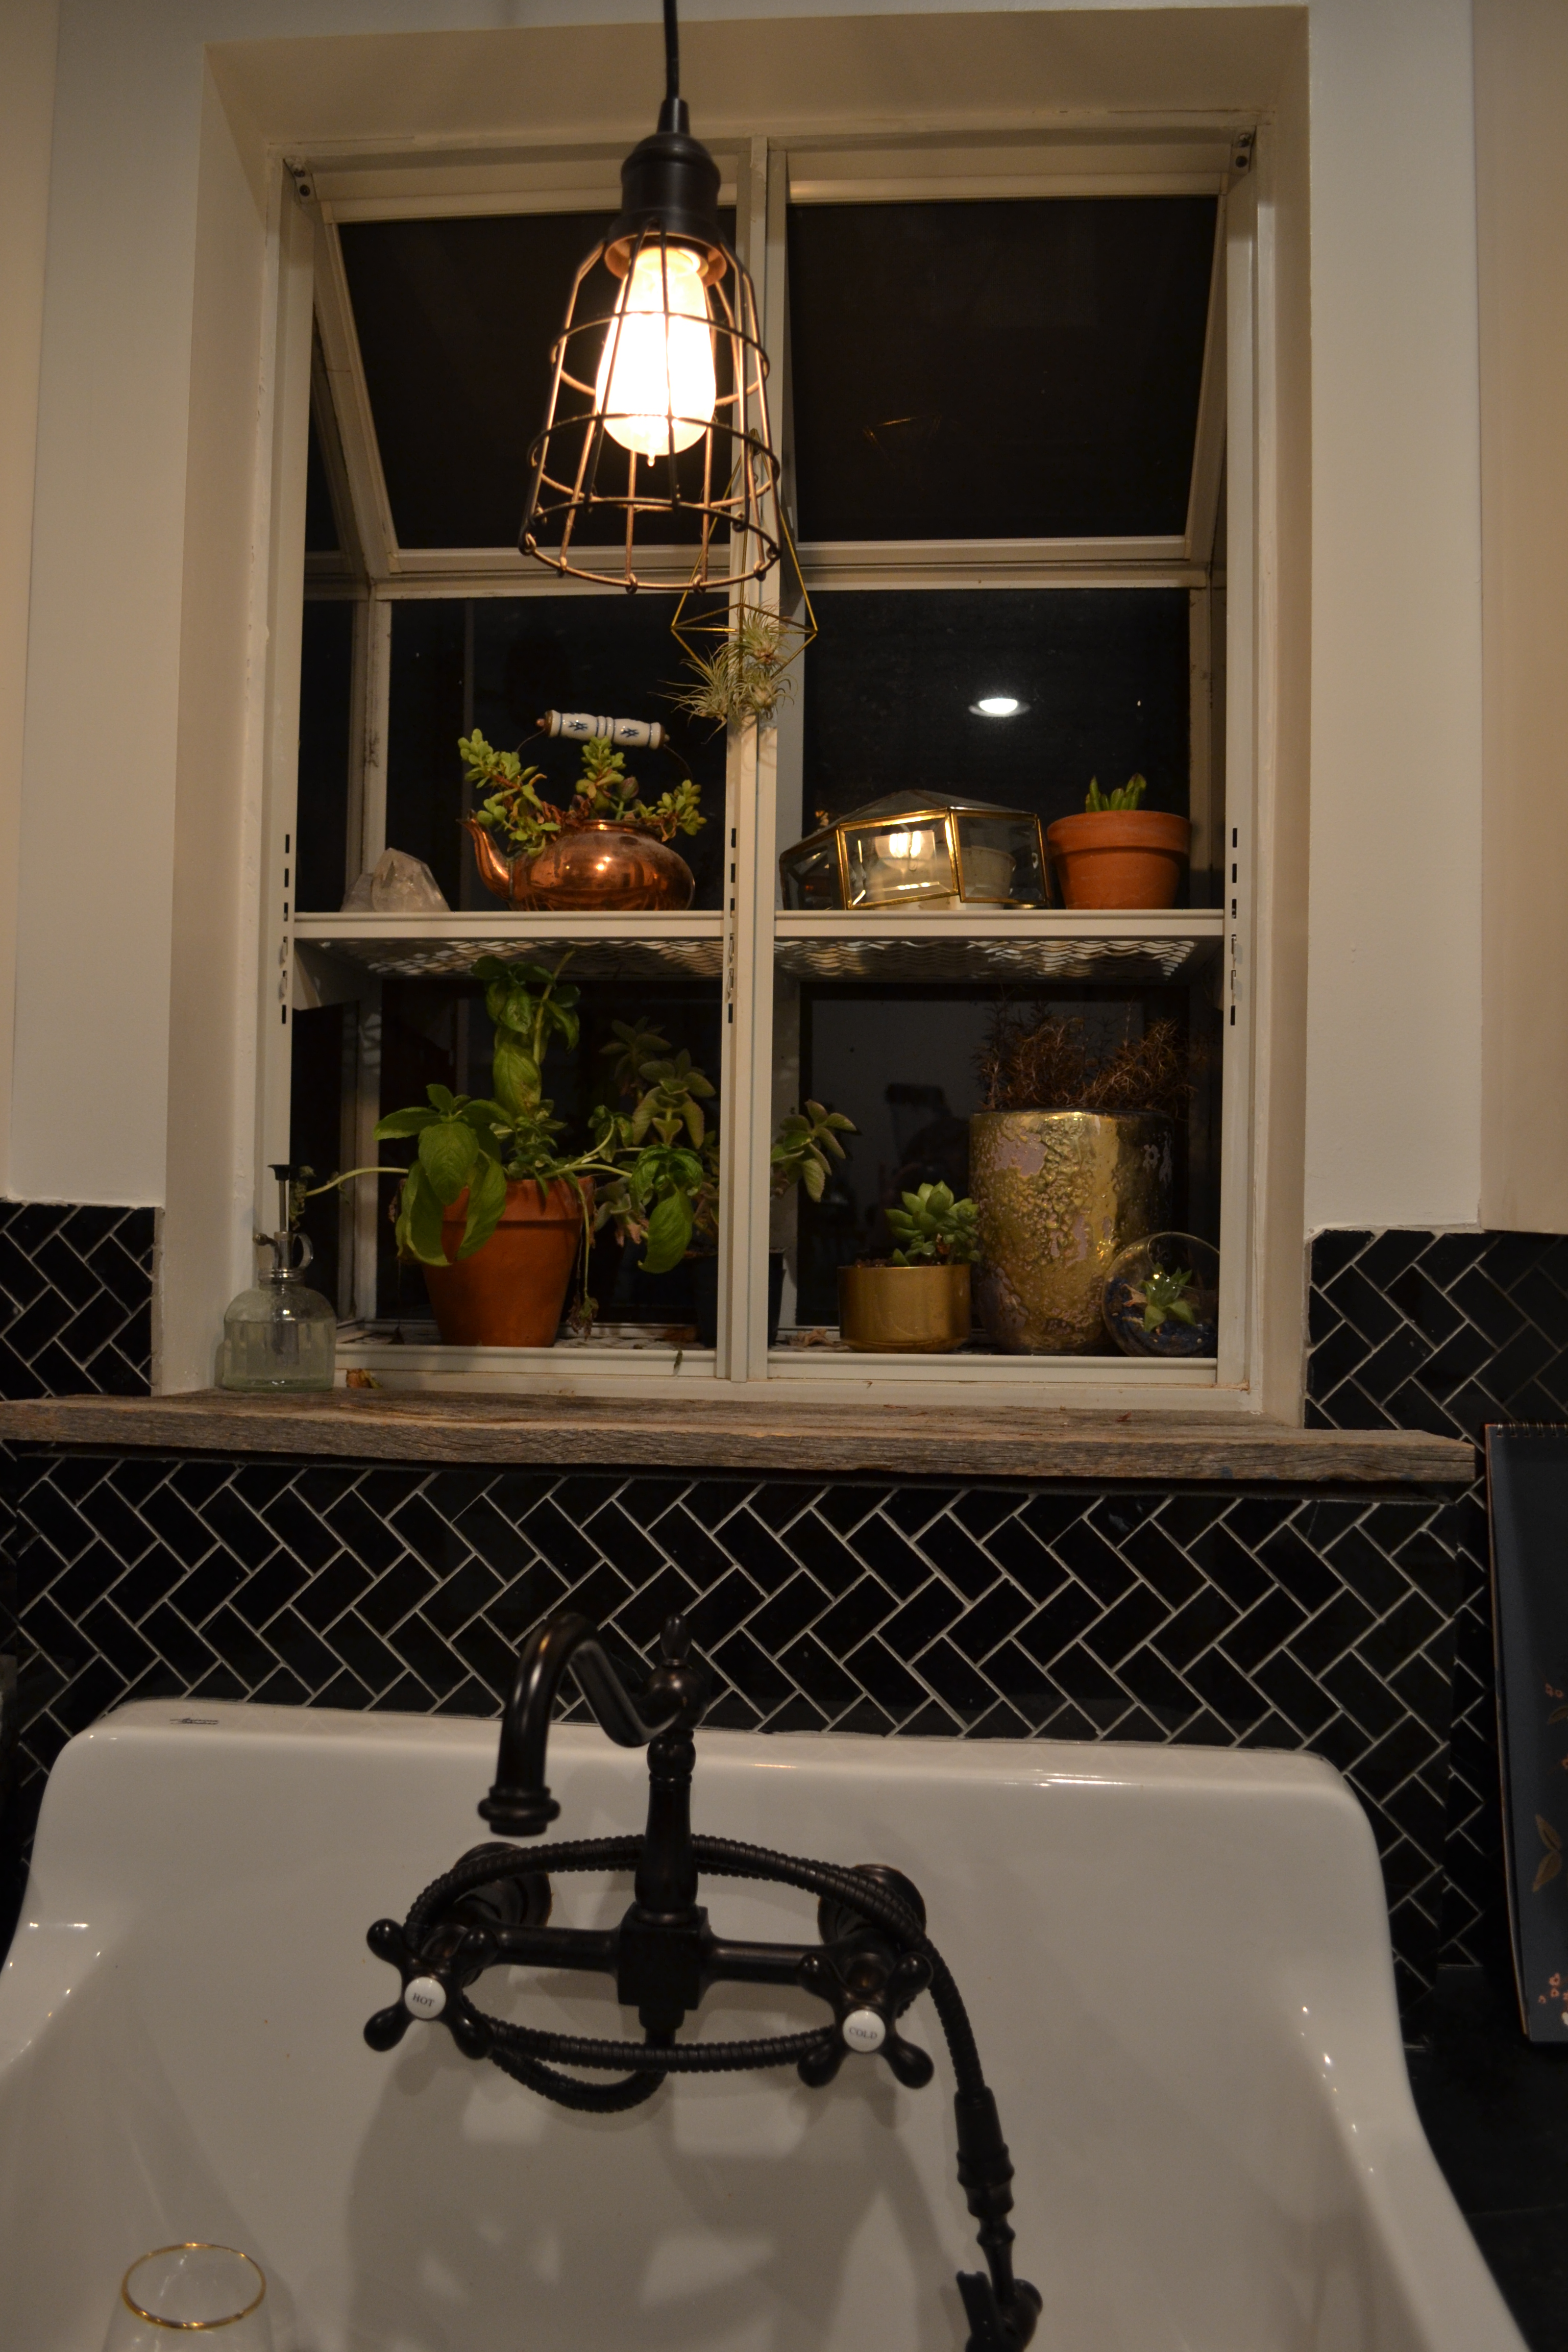
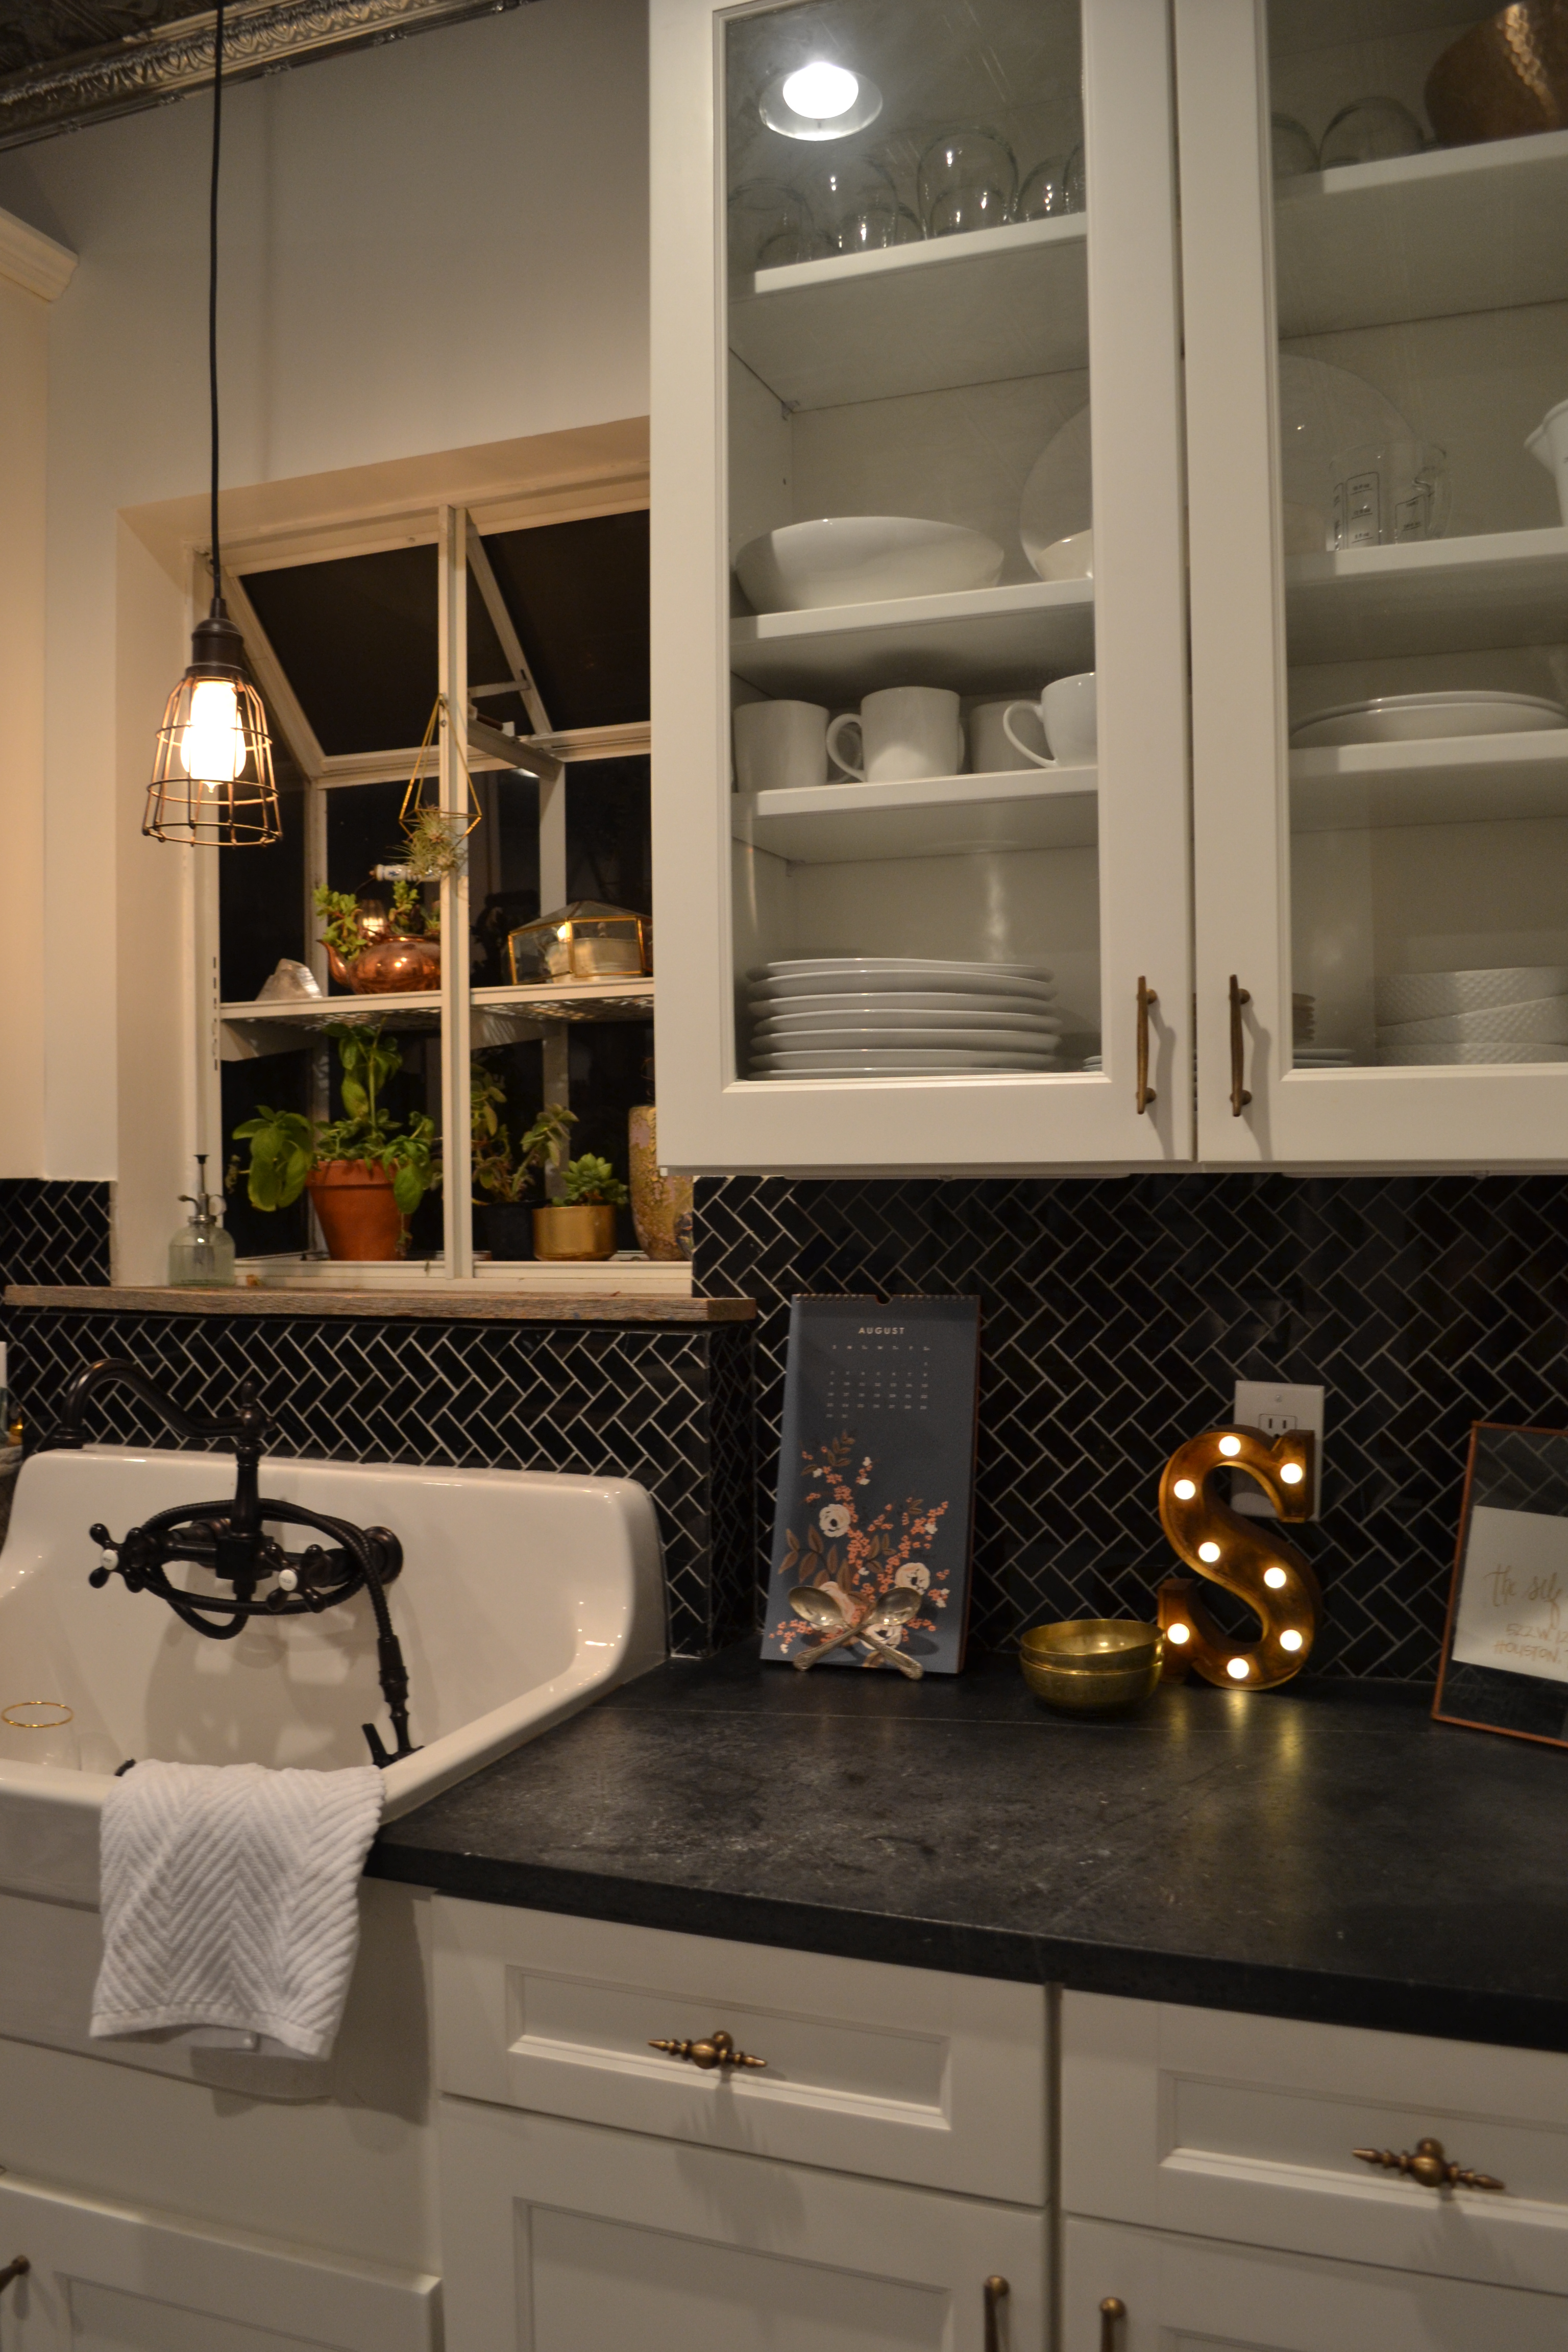
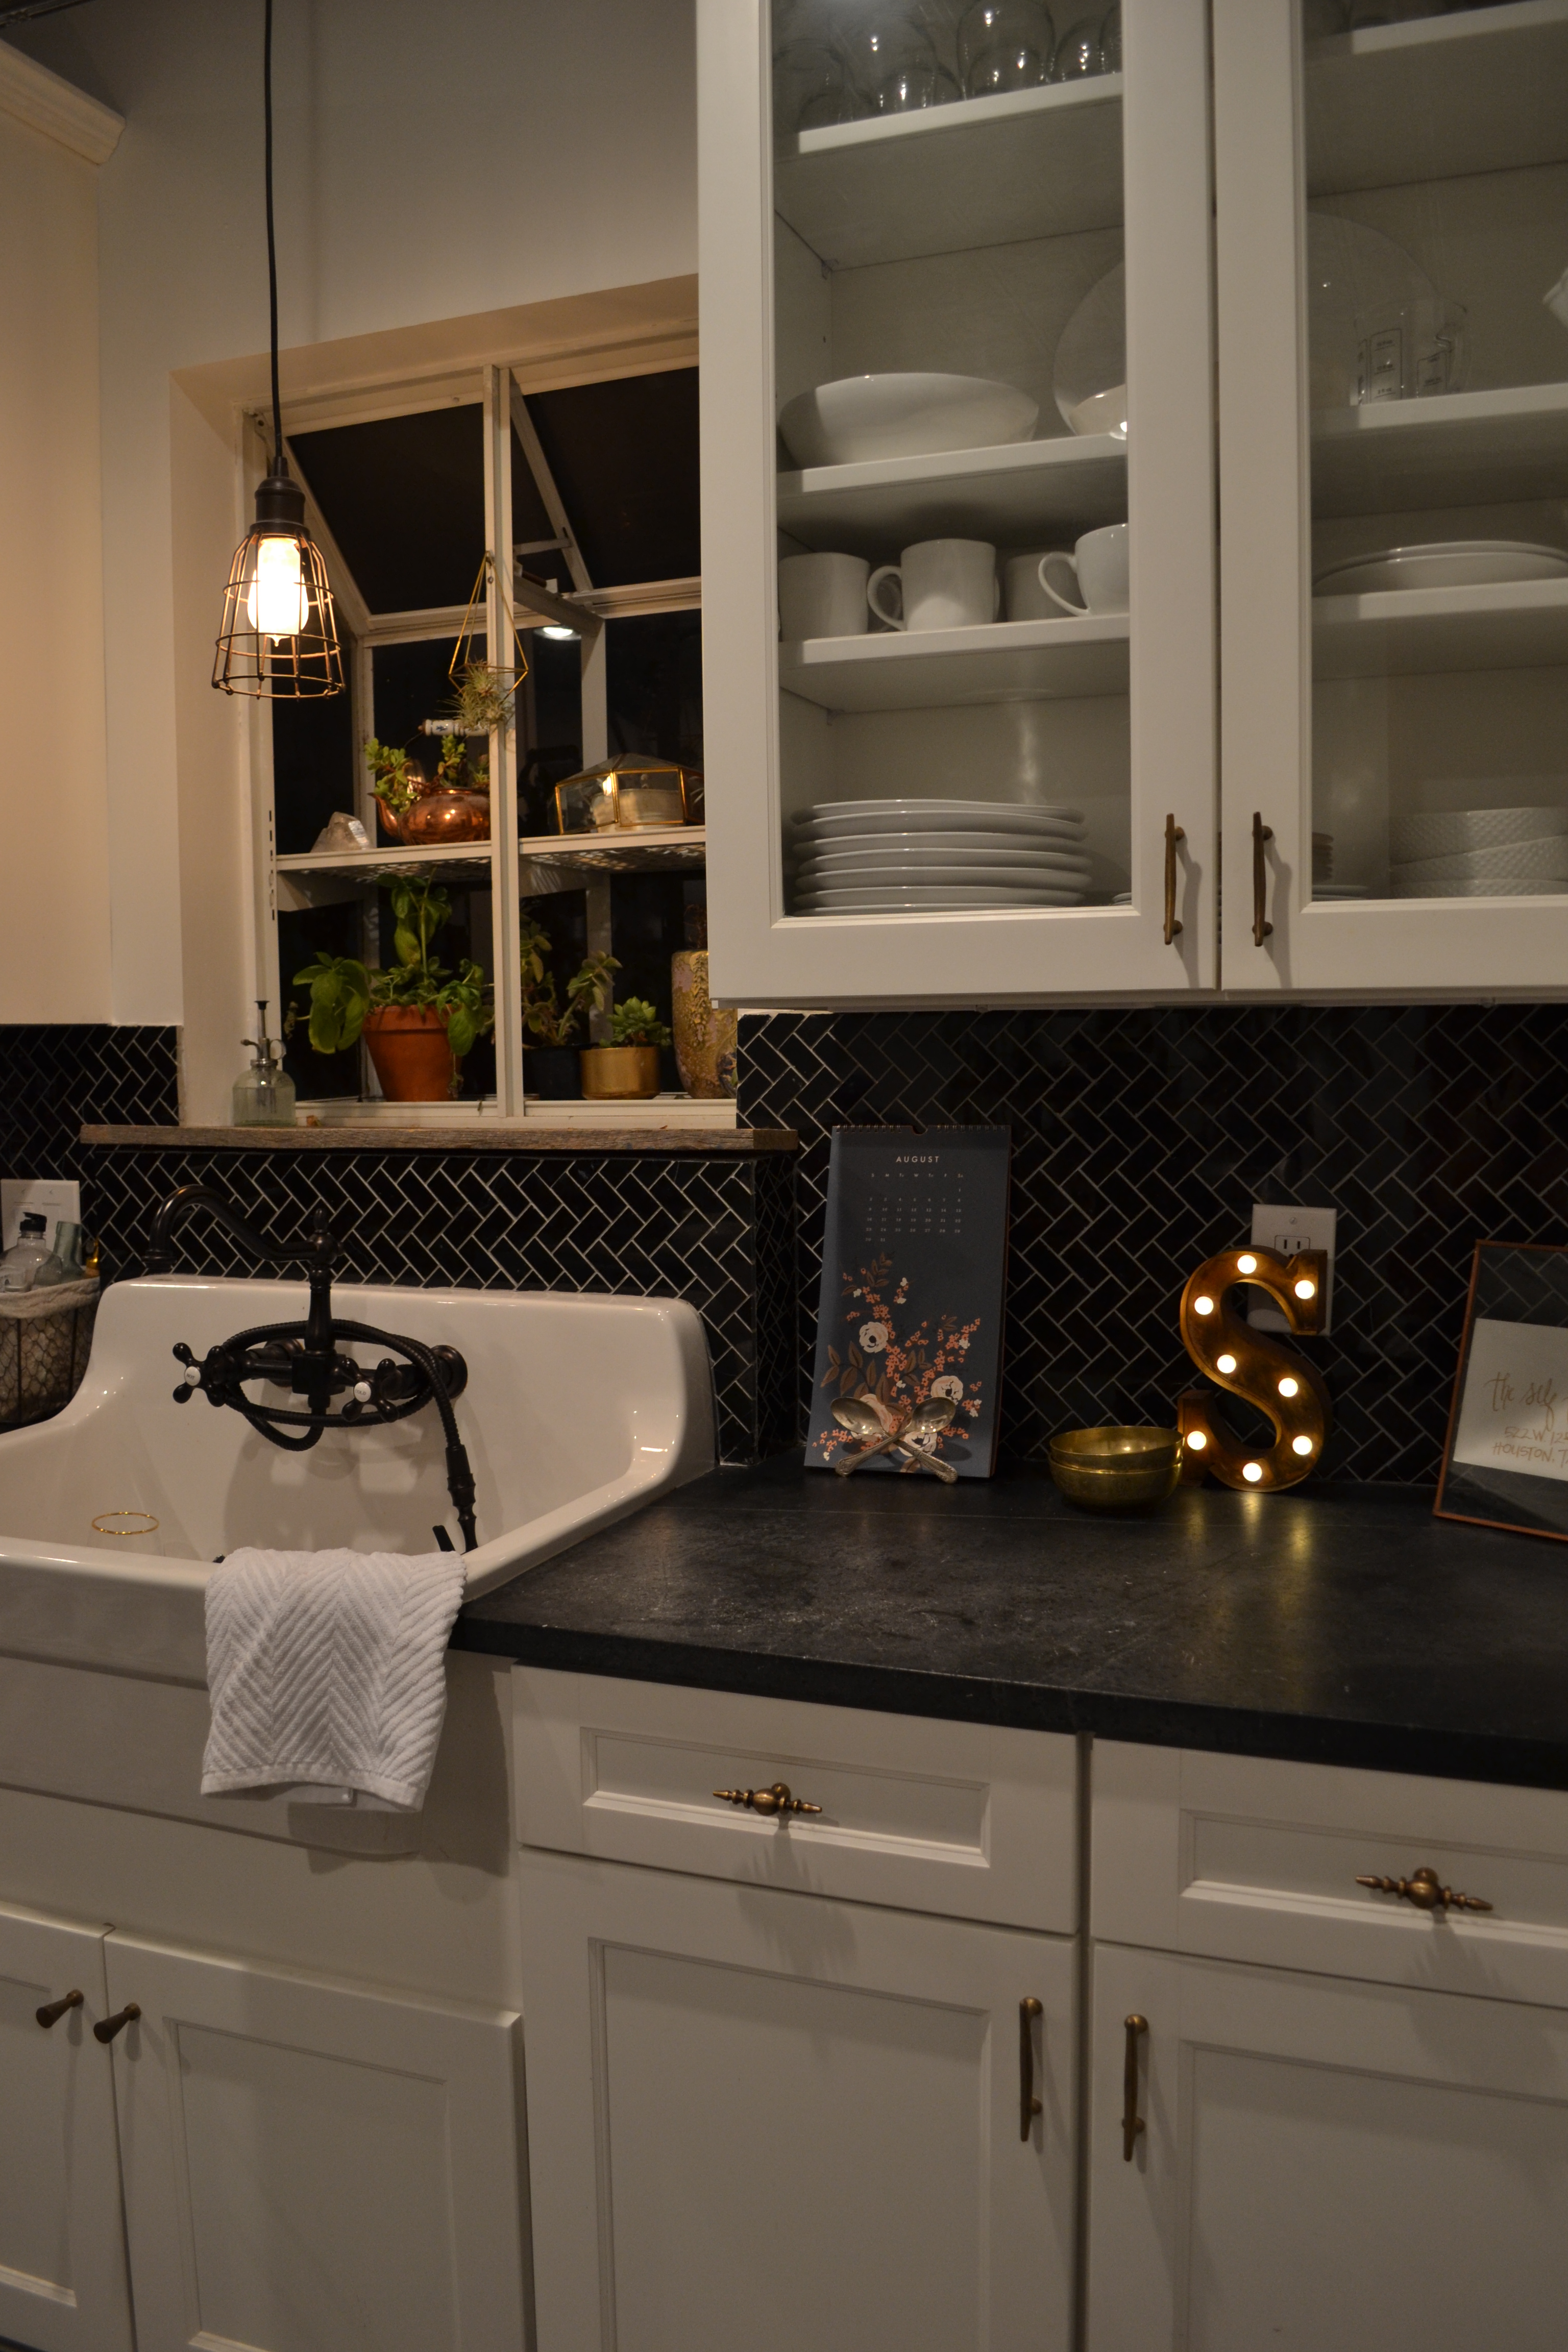
Now that we’re just cozy-ing down this is when I just keep adding and adding to my decor around the house!  One of my recent home obsessions is indoor plants and gardening. Learning to keep different types of plants alive can be a struggle but once you do they make a space so much more interesting! I love the contrast of textures and greenery they bring to a room. It’s like bringing the outdoors in and some how make a space feel more homey and comforting.
My current and on going favorites are succulents, cacti, air plants, fiddle figs, zz plants and snake plants!
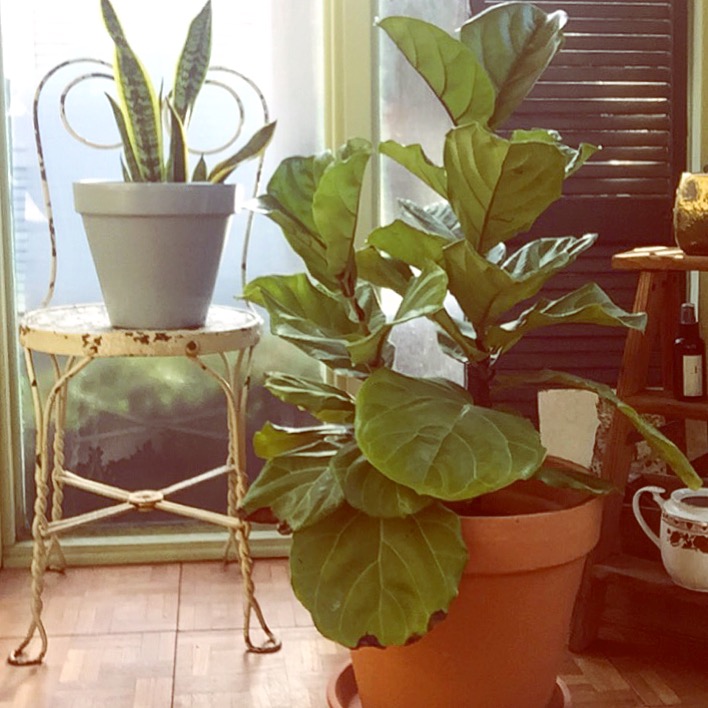
The picture above is of  my newest indoor plants, my 3rd fiddle fig and first snake plant.  If you have a fiddle fig you probably know they are very temperamental.  Like I said this is my 3rd one now and I’m starting to feel a little more confident in taking care of them. I recently saved the large one in my living room that I splurged on.  This one I finally found at Home Depot for about $12!  After reading a lot of online tips like “don’t over water”, “it might need more water”, “don’t use miracle grow”, “use miracle grow”, “needs more light”, “maybe you should move it to another spot”, “don’t move it because it’s temperamental about new locations” etc etc (you get my point),  I decided to try to move it to my sun room for more sun, used some miracle grow once, and made it a point to water way more than I had been.  I was so scared to over water and beginning a succulent lover I know how to not water until I realize the plant is dying.  Whoops.  Definitely under watered!  If your leaves are turning brown, drooping, and falling off that means you’re doing something wrong.  Once it was looking better the leaves stopped falling off and the remaining leaves started to perk up I moved it back into the living room and have been keeping a better eye on it!  My new method of watering is first to check the soil.  If it looks complete dried out and dusty that means it definitely needs at least a large cup of water to get the soil completely wet.  If it looks like it’s almost to that point you need to water it too.  When buying it the lady told me to do the finger test… I said OK… but I still don’t really understand the finger test!  Now when I’m not sure exactly how dry it is I’ll stick my finger in the soil and if it doesn’t feel damp or just slightly damp an inch or so in I add water.  Basically the visual test is good enough once you get a little practice.  Other than that just watch the leaves.  If you see the leaves drooping and hanging more vertically down then you need to re-evaluate your methods!  My advice is to start with a smaller tree to get familiar with it before splurging.  Best of luck!
As for the snake plant this is my first but I am pretty convinced they are an easy plant. I was selling my candles at west elm local pop up when one of the nice workers told me the plants in the store were real, from Home Depot (just for decoration) and called “mother in laws tongue” I loved that name and it also made me remember the name since I’m so bad about names!   I also found out it’s probably more commonly called snake plant. HOWEVER, I just googled and found out that they are toxic to dogs and cats.  😦  A couple of months ago we got a new lab puppy and I also have a cat so we will be on the look out.  Haven’t had any problems with toxic plants yet but it is good to google and find out when you buy a new plant or are looking into buying a new plant.
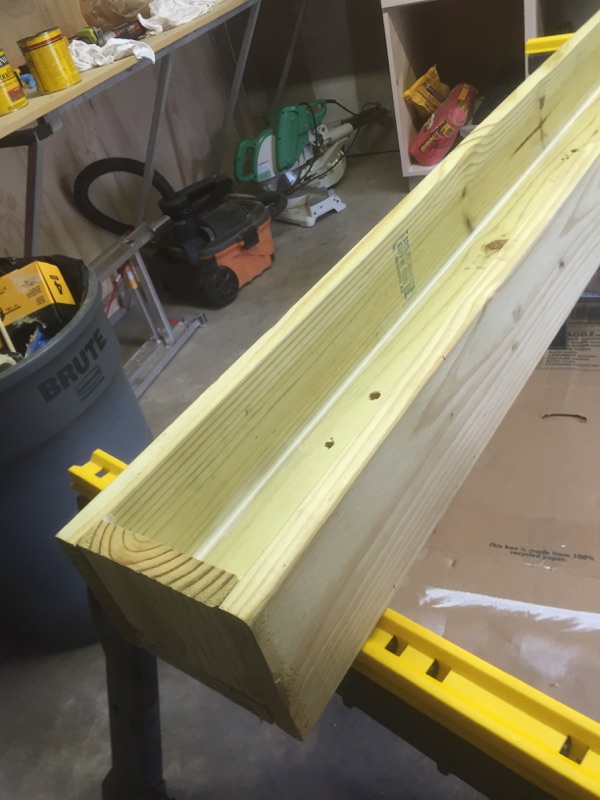
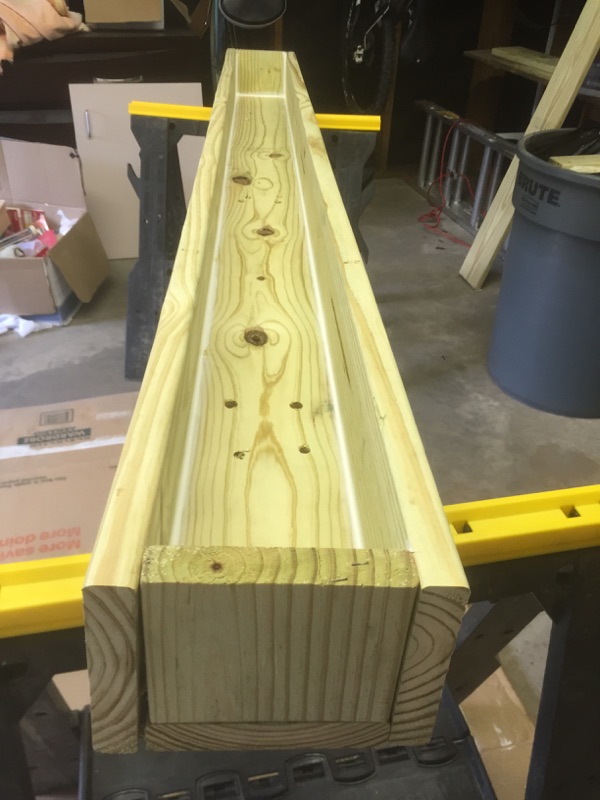
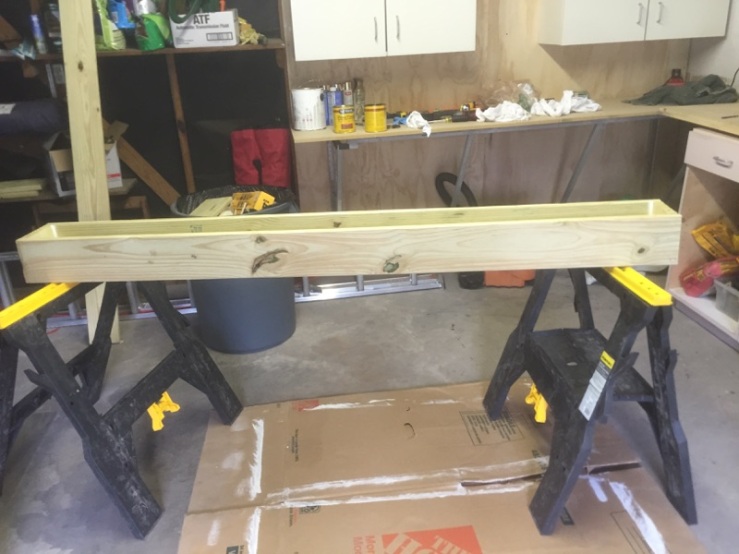
I also squeezed in a little DIY,  can you spot it?  I spray painted the terracotta snake plant pot a light grey.  Why are pots so expensive??  This is a cheap alternative to mixing up the colors of your pots.  LOOK FOR LESS, YES!
Hopefully this was helpful to some of you!  I’m planning on posting some more of my indoor and outdoor plants soon as well as tips!

Complete Kitchen Remodel!

So I’ve definitely already posted a lot of the kitchen remodel throughout the past year but here is the final product!  All inclusive!

Incase you haven’t seen the original before pics in my post HERE… Kitchen Before…

Kitchen - Before
Kitchen – Before
Kitchen - Before
Kitchen – Before
Kitchen - Before
Kitchen – Before

In progress pictures over the past year…

photo 2 (2)

photo 1

Cabinet Demo - Hidden Wallpaper

Kitchen Demo - Hidden Wallpaper

Kitchen Demo

Plumbing Redone - New Sheetrock going up

tile installation

New Sheet rock New Cabinets Installed

Anddd Here are the After Pictures!!!

DSC_0854

DSC_0855

DSC_0856

DSC_0857

DSC_0858

DSC_0859

DSC_0863

DSC_0864


DSC_0866

DSC_0869

DSC_0870

DSC_0871

DSC_0872

DSC_0873  DSC_0875 DSC_0877

DSC_0878

DSC_0879

DSC_0880

DSC_0881

DSC_0882

DSC_0883

DSC_0894

DSC_0896

DSC_0897

DSC_0898

DSC_0899

DSC_0900

DSC_0902

DSC_0903

DSC_0904

DSC_0905

DSC_0906

DSC_0907

DSC_0910
DSC_0912

DSC_0913

DSC_0914

In case you missed the kitchen floor tile plan post you can check it out HERE!

And in case you missed my kitchen prep area post you can check it out HERE!

cabinets
3D sketch of my cabinet
choice – Factory Builder Stores

Being an engineer I LOVED that they made these 3D sketches for me with my two cabinet choices! Stephanie at Factory Builder Stores was so helpful and easy to work with… I think we knocked this design out in about 20 minutes of discussion… I had all the measurements and things that I wanted… she set me these sketches and done!  We saved some money here by picking up the cabinets ourselves and having our contractor that was already working in the kitchen install them… meanwhile, we were relaxing in Curacao on our honeymoon!

nero-marquina-black-marble-1x2-herringbone-mosaic-floor-and-wall-tile-5
Backsplash tile – Ordered online from thebuilderdepot.com – New Marquina (Black Marble 1×2″ Herringbone Polished Mosaic Tile
fan
Fan – houseofantiquehardware.com – Gyrette 36″ Twin Ceiling Fan in Bronze
463x617
gilt.com Feiss Urban Renewal 1 Bulb Parisian Bronze Chandelier – $99
a70e2966-4d4c-464f-96d2-ce7b140de007_400
Homedepot.com American Standard country Base-Mounted Vitreous China 30in. 2-hole Single Bowl Kitchen Sink in White – $711.75
Heritage-Double-Handle-Widespread-Wall-Mount-Kitchen-Faucet-with-Optional-Side-Spray-KS124
Wayfair.com – Heritage Double Handle Wall Mount Kitchen Faucet
MAS365DFMXE
eliteappliance.com – Bertazzoni Master Series Range 36″ – comes with free hood
IMX0509-1
Island – dotandbo.com – Atelier Loft Great Heights Work Table
19017_XXX_v1-w500
World Market – Wood and Metal Jackson Kitchen Cart – $399.99

So over this past year there has been so many transformations and projects done in the kitchen! I’m going to try to summarize the progression!

The day we closed on our new house we immediately started to demo parts of the kitchen… the buying process lasted almost two months so that obviously already had my mind going with ideas.  Over the next month we demo-ed all of the cabinets, the built in island and table, the large plastic ceiling lighting, all of the appliances (most weren’t even working… the microwave worked, the oven did not, the stove wasn’t plugged in so the previous owner thought that it was broken too, and the trash compacter and washing machine did not work.. I’m not even sure if we checked the dish washer.)  We then began to pick up… yes pick up not demo.. the plastic floor tiles to plan the flooring.  There is most likely the original wood floors under the plywood that tile was glued to but we really weren’t sure of their condition because we saw evidence of laminate flooring under the plywood.  I spent at least a night or two hammering off the green backsplash. We also ripped off the tin trim that was on the tops of the walls to make the ceiling look higher.  The tin was covering up some metallic putty sheetrock? We still aren’t sure what that was about. Then we had the plumbers begin the plumbing in the entire house.  The fridge water supply needed to be moved to another wall.  The old hot water heater was in a closet awkwardly in the kitchen.  We decided to have them dispose of the old hot water heater and install a tankless water heater on the outside wall of the kitchen and ripped down the closet to create more space.  The kitchen sink pipes and vents were replaced.  They also needed to repair some of the sink drain pipes.  In the picture above you can see where they removed the sheet rock to expose the old shiplap in order to run the pipes and vent.  They also moved our stove gas line from where it was in the middle of the kitchen island to the wall where we have the range now.

The next steps were to re-sheetrock the tops of the walls where we removed the tin trim and where the plumbing was done.  We had our contractor install recessed lighting in the tin ceilings.  Once the floor tile was laid we had him install the kitchen fan and cabinets.

After that I needed to pick our sink so that he could install it before the backsplash.  He had to build up a frame and back support for the sink because it was narrower than the cabinets, that is why there is a box behind the sink where we placed the old barn wood shelf in front of the window.  Once that was done we had to pick out a counter top before he could install the backsplash.  We went with soapstone and we love it! I plan on doing a post about soapstone counter tops soon.  The backsplash was the last task for our contractors!

We had ripped down the sheet rock around the original chimney in the house that was used only for the wood burning stove.  We were unsure whether we wanted to expose the brick chimney or leave the exposed old ship lap. We decided to leave the ship lap because we didn’t want to worry about sealing the gaps between the chimney and the floor since the chimney goes all the way to the ground under the house.  We only had to pull off the original fabric wallpaper that was on the ship lap and patch the hole where the stove stack connected to the chimney with matching wood that we found in the garage.

Once all of this was done I began to order appliances… dish washer and range.  Meanwhile I painted the walls and baseboards.  The original window in the kitchen that I painted chalkboard paint (shown in the post here) had been done even before the floor!  The next few months consisted of installing the appliances, deciding on the layout, and ordering more furniture.  We then hung the pot rack and made the spice shelves.  I had the Jackson Kitchen cart from my old house and I decided it would best as the counter near the range instead on the middle of the kitchen and opted for a smaller island to make the kitchen more open.  The fridge was probably one of the last things I got for the kitchen.  You can see my fridge post here.

The final finishing touch was installing the tin molding between the ceiling and the walls.  We had to replace it since we ripped the sections off the walls and luckily the molding we picked matches really well!

We have truly be enjoying our kitchen the past few months.  We like to cook together and having all of our new kitchen toys from our wedding has finally been fun to experiment with in our new kitchen!  Our favorite things about the kitchen are probably the range (it really is just amazing and totally worth it if you enjoy cooking!) and the fan!  The fan rotates and there is a remote to control the settings.  We got the idea to put a fan because the house literally had a fan in every single room including over the master bathroom toilet… we realized “why not have a fan in every room!” We are both always hot and it helps air circulation.   When it gets hot in the kitchen with the stove and oven going the fan is a nice touch!

I’m sure I’m forgetting something so feel free to ask questions if you have any!  It has been a lot of hard work but it is definitely worth it now!

DIY: Industrial wood and metal shelving

DSC_0622

Supplies (All from Home Depot):

  • (2) pieces of treated & pre-sanded wood cut to the length desired
  • Minwax wood stain – Provincial and Honey 32oz – (a little goes a long way so don’t buy the large can – I might have used 1 and a half large cans to stain all of our wood floors)
  • (2) 12″ long black steel pipes – or however long you want the distance between shelves to be
  • (4) 6″ long black steel pipes – make sure they are long enough to lay the width of the boards on. (sorry I only show 3 in the first pics)
  • (4) 90 degree black pipe elbows
  • (4) pipe mount flanges
  • cloth rags for applying stain
  • gloves
  • 16 mounting screws

(I don’t know if I have to say this but make sure all pipe and pipe fittings are the same diameter!  I believe these are 3/4″ diameter.  Also make sure the screws you have are the correct size for the flange holes!)

DSC_0623

DSC_0624

DSC_0625

DSC_0626

DSC_0628

DSC_0629
I learned the hard way to always use gloves because I think I’m an exception to rules sometimes and that I will be careful enough – stain WILL get all over you – if you do get stain on your skin paint thinner will get it off!

DSC_0631

The above picture is after applying one coat of stain.  I applied one or two coats of each color letting dry for about 30 minutes between coats.

DSC_0630

Here is after 3 coats.  Apply as many as you want… I normally just see what it looks like after each coat and decide whether I want to apply another coat.

The stain smells very strong even a day or two after the stain is applied so I’d suggest letting it air out (in a dry place) for a couple days before installing.

Next mount the pipes in the configuration shown in the picture towards the top ^ making sure they are level and spaced approximately 1/4 of the length from each end of the wood.   Last part is just sliding the stained wood onto the pipe brackets!  We did not secure the boards so they are just resting on top of the 6″ pipes!

Good luck! Feel free to shoot me any questions!

shopellion.com

Introducing shopellion’s new website!  www.shopellion.com

shopellion.com
shopellion.com

Click the link to browse some of my work and more info about me and my shop! As always, feel free to contact me (shopellion@gmail.com) for custom order requests/questions/collaborations or browse my online shop listings at www.shopellion.etsy.com.

Here’s some of my featured work shown on shopellion.com!

Sazerac Candle LO
Sazerac offical cocktail candle – Collaboration

gray tall il_570xN_453889311_4o64 il_570xN_460040722_70oz il_570xN_511755808_7b24

il_570xN_746492682_5hyk

il_570xN_770018232_kmrb il_570xN_770023364_91m4 il_570xN_770024394_b8tn il_570xN_770027648_l7q5 il_570xN_770029358_gxhe il_570xN_770030310_mjzj il_570xN_770072087_4dwl vintage powder jaraasd asdasdffd asdf asdfd asdfed asdhujmnnntitled asfdsdfhynd il_570xN_770067349_rkkz led sdfghhhhhed sfditled titled Unitled

handpainted iphone background
custom bridesmaid floral journals

Merola Tile -Home Depot

Merola Tile Ditte Nero 17-3/4 in.  17-3/4 in. Ceramic Floor and Wall Tile
Merola Tile – Ditte Nero 17-3/4 in. 17-3/4 in. Ceramic Floor and Wall Tile – $5.94/sqft Home Depot
Merola Tile - Vanity Nouveau 13x13 Ceramic Floor and Wall Tile 6.77sqft
Merola Tile – Vanity Nouveau 13″x13″ Ceramic Floor and Wall Tile $6.77/sqft Home Depot
Merola Tile - Vanity Blanco 13in.x13in. - $6.77/sqft Home Depot
Merola Tile – Vanity Blanco 13in.x13in. – $6.77/sqft Home Depot
Merola Tile - Kings Flatlands - $6.97/sqft
Merola Tile – Kings Flatlands 17-3/4″x17-3/4″ – $6.97/sqft Home Depot
Merola Tile Revival Leaf - $1.97/sqft
Merola Tile Revival Leaf 7 3/4″ x 7 3/4″- $1.97/sqft Home Depot
Merola Tile Revival Pattern - $1.97/sqft
Merola Tile Revival Pattern – $1.97/sqft Home Depot
Kings Canarsie 17-3/4 in. x 17-3/4 in. Ceramic Floor and Wall Tile -$6.97/sqft
Merola Newspaper - $18.33
Merola Newspaper 17-3/8″x17-3/8″ Porcelain – $18.33/sqft Home Depot
Merola Newspaper
Merola Newspaper 17-3/8″x17-3/8″ Porcelain – $18.33/sqft Home Depot

In case you did not see or don’t remember my kitchen floor tile post HERE, my tile is also from the Merola Tile collection at Home Depot.  Shown below…

Our Kitchen Tile - Merola  Twenties Vertex - $1.97/each
Our Kitchen Tile – Merola Twenties Vertex – $1.97/each
Merola Twenties Vertex

Which can also be arranged as shown above on Home Depot’s website.

Most of these tiles are online only but I found it very convenient to order and have shipped directly to my door where my contractor was working.  Out of curiosity I checked for the latest available Merola Tile collections and found the above patterned tiles!  A couple are still pricey but I think they are all great tiles.  Especially if you are doing a small area and want to add some color or character.  In comparison to other custom tiles these are still less expensive for the most part… that newspaper tile is pretty expensive but I thought it was neat.  There are plenty of others to browse on home depots website by searching “Merola”.  I’d love to hear about other tile brands that you like!

Kitchen Cooking and Prep Area


Just as a little reminder this is the before…

Kitchen - Before
Kitchen – Before

Where do I start? There’s actually a whole lot in these pictures to talk about!  So this kitchen cart actually was my island in my old house.  It is the Jackson kitchen cart from world market.  I bought it 3 years ago and they have been having it for purchase online since then!  It wasn’t my original idea to put here but after searching for an antique or diy piece of furniture to use I realized I should just use this instead and get a new island!  I liked the idea of saving by using unique pieces of furniture in the kitchen (to bring in some diversity) instead of custom cabinets through out.  Figuring out how to do a very exposed concept was a challenge but it is actually very functional now that it is done.  This specific area gets A LOT of use when cooking.  Everything is right there and easy to grab and move around quickly.   All pots and utensils are located on the bottom shelf, counter, and pot rack.  All spices are on the middle shelf on the wall.  Extracts, empty jars, and seasoning packets are on the top shelf on the wall.  All cutting boards, cheese boards, baking sheets, etc are on the middle shelf of the cart.  All oils, measuring cups, utensils, large cutting board, spoon rest, garlic, etc are on the counter.

The spice and oil organization did take a good amount of time.  I purchased jars and bottles from hobby lobby and the container store.  Meanwhile I ordered a dymo organizer express pro from amazon for about $15 bucks.  Yes, this labeler isn’t the most dependent and is very time consuming but I like the way it looks once they are all done.  And in case you were wondering… it usually never works out perfectly that the entire spice fits in the jars…. I tried my hardest and maybe threw extra spices away.  If there was too much excess I hid it behind the glass jar.  I decided to buy extra jars when they were on sale at hobby lobby because it is extremely frustrating when you don’t have a single empty jar when you get a new spice.  I organized them alphabetically to make it easier to find less frequently used spices.  One of the biggest organization tips to follow is uniformity.  If everything is in the same style bottle it won’t look unorganized.

I really loved the look of copper pots so I found a decently priced set from west elm and used wedding gift cards to purchase them.  The Le Creuset pots and larger pots are too big and heavy for the pot rack so they are on the lowest shelf.

The baking sheets and cutting boards easily slide in the middle shelf of the kitchen cart.  The largest cutting board stays on the counter for easy food prep.  It is from William Sonoma and is a really good investment.  There are plenty of different sizes and colors to choose from.

One of my favorite places to shop for home and kitchen things is anthropologie.  My measuring cups on the counter were a gift purchased from anthropolgie.  I love the colors and appearance of them so its nice having them there ready to use.

The utensil jar is definitely the way to go to save drawer space and has the ease of access when cooking.

As far as individual seasoning packages and other items that you might want to leave in their packaging, put them in a box.  The box on the top shelf holds these items. This box is from the container store and comes in multiple sizes.

The shelves are actually a DIY project that I plan on doing a post about!  Just two pieces of wood that I stained and are supported by black steel pipes from home depot.

The pot rack was a wedding gift purchased from World Market.

The stove is (AMAZING) a Bertazzoni 36″ Master series from Elite Appliance.  They usually have a deal for a free hood or vent with purchase.

The cart shelving on the left of the stove is also from World Market but is not available right now.  It is where we keep all of our miscellaneous kitchen appliances.

The only thing I’m still considering on adding to this area is a stove back splash but still undecided!  Other than that I feel like the kitchen is finally complete!

I’d love to hear your thought and ideas for back splashes!

Master Bathroom Renovation

What you may (or may not have) been waiting forrrr…. the master bathroom complete renovation!  I’ve been slacking on both blog posts as well as renovations because we have finally been enjoying our house!  There will still always be projects and lots of small details to complete…  not to mention the Houston flooding this week that flooded our garage and back room that will be our office/shopellion ugh!  Anyway, I’ll try not too ramble to much on this post so here goes!

master bathroom before and after

Master Bathroom - Before
Master Bathroom – Before
Master Bathroom - Before
Master Bathroom – Before
photo 1 (2)
Sink and Cabinets taken out – by us
photo 1 (3)
Carpet over linoleum being torn out by yours truly
photo 1 (4)
Shower torn out & old closet
photo 5
yours truly ripping up the linoleum
photo 5 (3)
The closet after taking out the carpet on the floor
photo 5 (4)
The closet after ripping the carpet off the walls (yes…walls)
photo 1 (5)
Me pretending to shower in the no longer existent shower
photo 5 (6)
Me standing on the GROUND under the house – plumbers ripped out the floors to redo the plumbing aka post work day reno work and measuring

Ok time for the pretty…hopefully you can tell what is what!

DSC_0780
hard to get him out of pictures… he wants the water turned on!
DSC_0782
Entrance to the Bathroom (we still need a pretty door!) and my new closet (yes mine only!)
DSC_0783
Tile design by yours truly
DSC_0784
New custom tile shower
DSC_0786
Antique Armoire from my parents old room – our bathroom storage
DSC_0787
New vintage inspired Kohler toilet
DSC_0811
Signature Hardware medicine cabinets – amazon.com vanity lights (previous post HERE)- ikea accordion mirror
DSC_0789
Old medicine cabinet and mirror still there for now – looks much better!
DSC_0798
Shower Floor
DSC_0794
Vanity from Signature Hardware – refer to my previous post HERE
DSC_0808
Signature Hardware faucet and knobs
DSC_0802
Just a neat piece of artwork I bought at the Texas Renaissance Fest – Vintage French Print… and the back turns into a mirror… perfect for hand held in the bathroom!
DSC_0804
Just a neat piece of artwork I bought at the Texas Renaissance Fest – Vintage French Print… and the back turns into a mirror… perfect for hand held in the bathroom!

DSC_0781

DSC_0790
Where we hide our initial towel/robe holders

DSC_0793

DSC_0795
New closet accordion doors from Homedepot.com, painted by me & handles from anthropologie

DSC_0796 DSC_0797 DSC_0799 DSC_0805 DSC_0806 DSC_0807and for your entertainment… a video that i recorded a few months ago during the bigger renos…

DIY Flower Window Box

IMG_6631

As far as actually constructing the box I left it up to my husband and sent him THIS blog post from the Two Twenty One because I like how they constructed the box as well as how they mounted it.

I almost did white paint/stain but my husband mentioned he liked the idea of staining it and I thought about it and agreed (A wife agreeing with her husband’s idea… I’ll admit it this time!)… the stain is a good contrast with our house colors.  Plus I’ve been staining so much lately I’m kind of obsessed… from our own wood floors to custom shelving…(guess I need to do a post on those too!)

Since I wasn’t actually present for the constructing of the box just refer to the blog post above… as for the staining… first of all it’s way easier to use pre-sanded wood.  For the stain I used Minwax Wood Finish Oil-Based Stain in the color provincial. You’ll only need the small can because stain goes a long way (our box is about 6 ft long and it barely put a dent in the small can)… you’ll also need gloves and cloths or rags to wipe the stain on.  Trust me you want gloves… I learned the hard way with the floors… paint thinner does take it off though just in case it drips.  I rubbed one coat on, let dry for an hour or two then applied a second.. you can apply a third or even a different color stain as well.  We waiting another 24 hours before installing the box because the stain does take a while to completely absorb.

IMG_6550
After Constructed and Sealer Dried
IMG_6547
After Constructed and Sealer Dried
IMG_6549
After Constructed and Sealer Dried
IMG_6551
After applying one coat of stain – Home Depot – Minwax Oil Based Wood Stain in Provincial
IMG_6552
Stained

The next day we bolted it to the wall where we wanted… then planted flowers!

IMG_6583
Before
IMG_6588
The flowers we picked!
IMG_6592
Mounted!
IMG_6613
Done!

IMG_6599

New-Retro Fridge

IMG_5499
Kitchen Update with new GE Artistry Fridge
kitchen 3
Kitchen Before
fridge2
GE Artistry Refridgerator – Homedepot.com $1079.10 & Free Delivery
open
GE Artistry Refridgerator – Homedepot.com $1079.10 & Free Delivery
Untitled
GE Artistry Refridgerator – Homedepot.com $1079.10 & Free Delivery

So believe it or not… we have 4 refrigerators. FOUR. The white one in the before picture came with the house and wasn’t going to stay… but it still works so I guess we’ll keep it in the garage! The one we planned on putting in the kitchen got scratched up when we move it from my house in Louisiana… so it’s in the garage because it still works too. The fourth is at my husbands office so there are technically 3 at the house. That being said… I wasn’t really worried about getting a large fridge or freezer because we will have two more in the garage. I looked into other retro inspired fridges like the big chill, northstar and smeg but I just didn’t feel like it was worth the money considering you can get an awesome non-retro fridge for way less.  I also got a ball park idea about how much restored vintage fridges would cost and it’s a lot too.  I was hesitant about this GE artistry fridge at first but I kept coming back to it and now I love it!  I knew we really wanted an ice maker and this one has the connection to hook one up in the freezer… it costs about 90 bucks (ordered separately – see below)  and they can install it when they deliver or you can do it yourself.  We would have to live without cold water dispenser but we’ve lived without one for the past few months so we’re getting used to it anyway!  The fridge and freezer space are slightly smaller than you would probably want but its sufficient so we are really liking it so far!

ice maker
Ice Maker Kit for Top Mount Refrigerators – HomeDepot.com $89

Industrial Shelving Look for Less

IMG_5677

world market emerson shelving
World Market – Emerson Shelves – SALE $299
restoration hardware
Restoration Hardware – French Library Double Shelving – SALE $1895

While planning our kitchen layout and storage I knew we both liked a lot of open shelf storage. As you’ll see in the pictures below, we have a short wall coming out that creates a nook.  Previously all of this wall was built in cabinets.  I found these shelves at world market and the dimensions were perfect for this nook.  We only wanted to do a small portion of built in cabinets so we only did them on the right side for the sink and dish washer as well as storage.  These pics are from about 4 months ago while the kitchen reno was still in progress… now we are to the point of organizing the shelving!  Stay tuned!

IMG_1517 IMG_1519 IMG_1905